Introduction

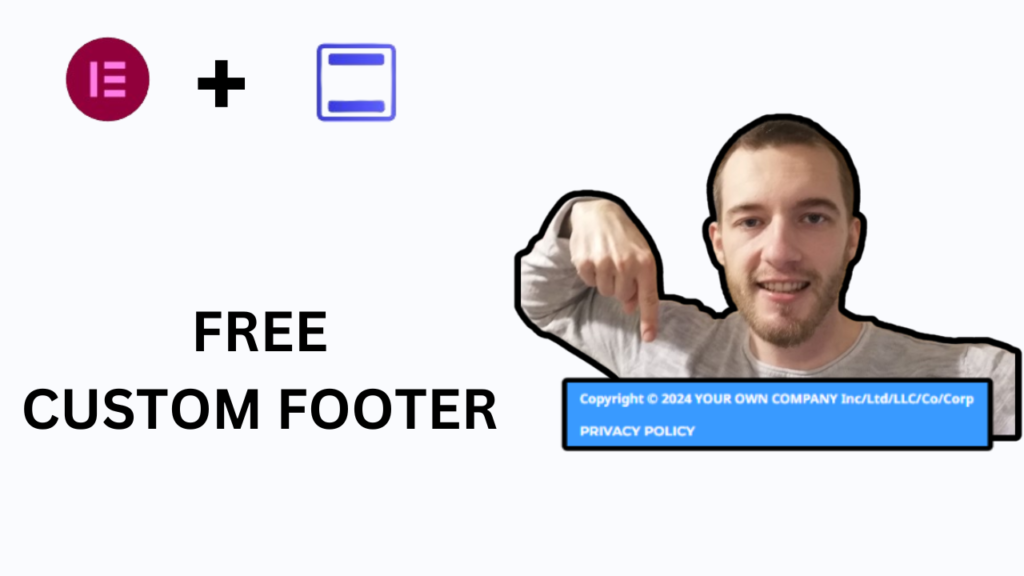
In this blog post, I’m going to help you create your own custom footer design for your website. Maybe you don’t like the default footer which came with your chosen theme for your website, then this tutorial will definitely help you out to design your own footer in whatever style you have in mind. Create your own copyright for your specific business/company/blog, choose your preferred background colors.
Install Required Plugins
We are going to use wordpress to create our own custom footer. Once we are logged in to our wordpress dashboard, come to the left/hand side where all the navigation tools are, select plugins and then ”add new plugin.” We need 2 plugins – elementor & elementor header & footer builder. Install & activate both of them. Then come to appearance – ”elementor header & footer builder” and click on ”add new.” Name your footer.
Edit Your Footer
Once you’ve named your footer, click on ”edit with elementor.” You will be redirected to the page where you can start creating your footer from scratch. In this website footer tutorial, we are going to create footer design using copyright icon and your own registered business/company name. Click on the plus icon and select one column structure. On the top left corner, search for copyright widget. Drag & drop it to your empty column section. Depending on the theme you selected when you were building your website, you already have a default theme copyright. You can simply delete it and type your own copyright text. In this tutorial example, I will type : ”Copyright ©️ 2024 YOUR OWN COMPANY, Inc/Ltd/LLC/Co/Corp. Change it according to your business/company name and type of business you’re running. Default background footer color in this example is white. If you want to change it, click on 6 dots, pick your background type (color/image/video/slide show) and modify it as you desire. I will select hover type with 2 different colors, white and blue. Once you’re done, click on publish to save progress you just made creating your footer.
Display On Pages Of Your Website
Now all we need to do to finish is to display our newly created footer to all the pages of our website we decide to. Come back to your wordpress dashboard. On the navigation section to the left, select appearance – elementor header & footer builder once again. Now click on ”edit.” Under ”type of template”, choose ”footer”. Under ”display on”, choose all the pages you wish to display it on. Once you have finished, scroll back up and click on ”update” on the right-hand side. Congratulations, your new footer is ready to go! One last quick tip – avoid errror showing up when you’re going to edit your footer once again : come to settings on your wordpress dashboard, select ”permalinks.” Make sure to select plain structure of permalinks and click ”save changes.” That’s it, enjoy your new footer design!
Bottom Line

Purpose of this blog post was to learn how to create your own footer version for your website using elementor header & footer builder. You know how to change your copyright text based on your business/company name and type of business you’re running when you registered it. You’re able to modify your background color in whatever style you choose to. You know how to display it on any page of your website. Thank you for reading this quick elementor footer tutorial and have fun using your new footer design!
Leave a Reply